

Did you hear from a health-conscious family member or friend that sprouts are superfoods? Well, he or she is right. You can scour the entire city for a variety of sprouts so that you may start incorporating them into your diet right away. Or you may simply come up with sprouts from scratch. How? Continue reading this article.
Sprouting is really very easy. Even if you have never sprouted anything before, you are not going to have a headache trying to make your very own batch of sprouts.
The different materials you will need for your very first sprouting project are very much likely to be in your kitchen right now, such as a large glass jar, cheesecloth and rubber bands.
When sprouting, of course you will need things that sprout. You have many different choices, and you can go for your favorite seeds and beans.
But before we learn how to sprout, let’s first tackle some of the reasons why sprouting is a great idea.
According to nutrition experts, sprouting helps in eliminating the so-called phytic acid which is naturally present in the tissues of various seeds and beans. The problem with phytic acid is it makes some of the nutrients abundantly present in seeds and beans inaccessible to the body. In fact, nutritional deficiencies may strike if an individual’s diet mostly consists of foods with phytic acid — vitamins and minerals in them are rendered useless!
Thanks to sprouting, phytic acid can be removed from the equation, thus allowing your digestive system to absorb the nutrients present in seeds and beans.
One more benefit of sprouting concerns beans. As everybody knows, beans are gas-forming foods, meaning that their consumption can cause excessive gas in the belly. The reason for this is beans contain complex sugars that produce lots and lots of gas once they are in your digestive tract. Something as simple as sprouting can help get rid of those complex sugars, thus saving you from sheer discomfort and embarrassment!
Now that you know the reasons why sprouting is good, let’s now take a look at how you can sprout your favorite seeds and beans at home without any trouble.
Seeds
Make sure that the seeds you are about to use are not the kinds that are meant to be planted as they may be treated with certain chemicals. Go for seeds that are meant for cooking or sprouting.
To get started, place your seeds in a large glass jar. Put water in the jar, just enough to cover the seeds. Place a piece of cheesecloth over the lid and secure with a rubber band. Allow the seeds to soak. Just kindly refer to the chart below.
Drain the water and place the jar in a cool and dry place. Remember to wash and drain the seeds thrice a day. In a couple of days, your seeds will sprout.
Soaking times:
Sunflower seeds – 2 hours
Flax seeds – 8 hours
Sesame seeds – 8 hours
Alfalfa seeds – 8 hours
Melon seeds – 8 hours
Pumpkin seeds – 8 hours
Beans
For this project, you should get your hands on dried beans. The kinds that are frozen and canned are useless.
Place a handful or two of your preferred beans in a large glass jar. Put enough water in the jar so that all of the beans are soaked in it. Keep insects and dirt at bay by placing a small piece of cheesecloth over the lid, which you then have to secure with a rubber band. Place the jar in a cool and dry place in your kitchen and drain after the recommended soaking time. Refer to the chart found below.
Remove water and place the jar back to its corner. Wait for a few days for them to sprout.
Soaking times:
Barley – 6 hours
Adzuki beans – 8 hours
Lentils – 8 hours
Chickpeas – 12 hours
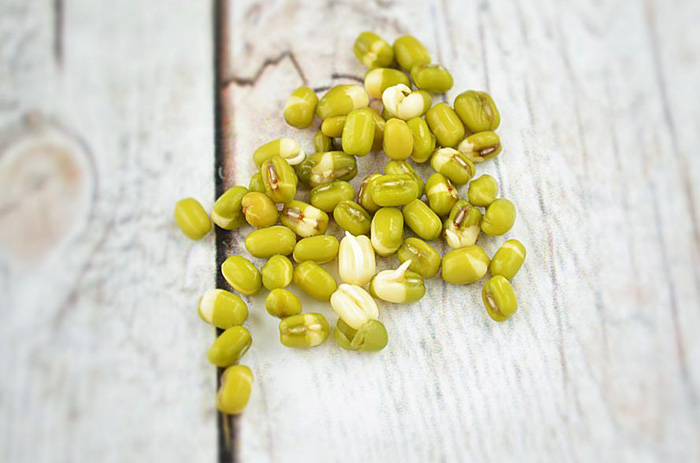
Mung beans – 24 hours